Trinidad Bread and Channa: A Delicious Tradition with a Personal Twist
Table of Contents
In my previous post, I shared my take on boil channa (also known as “cup ah channa”). As a natural follow-up, I want to dive into another beloved Trinidadian staple: Bread and Channa.
The Origin of My Love for Bread and Channa
My introduction to bread and channa came through my husband, who hails from Chaguanas, Trinidad. This town is home to the iconic “Nick’s,” famous for serving what many consider the best bread and channa sandwiches on the island. During our holidays back home, it was always one of the spots we had to visit to satisfy our bread and channa ‘tabanca”(unrequited love).
What’s in a Trinidad Bread and Channa Sandwich?
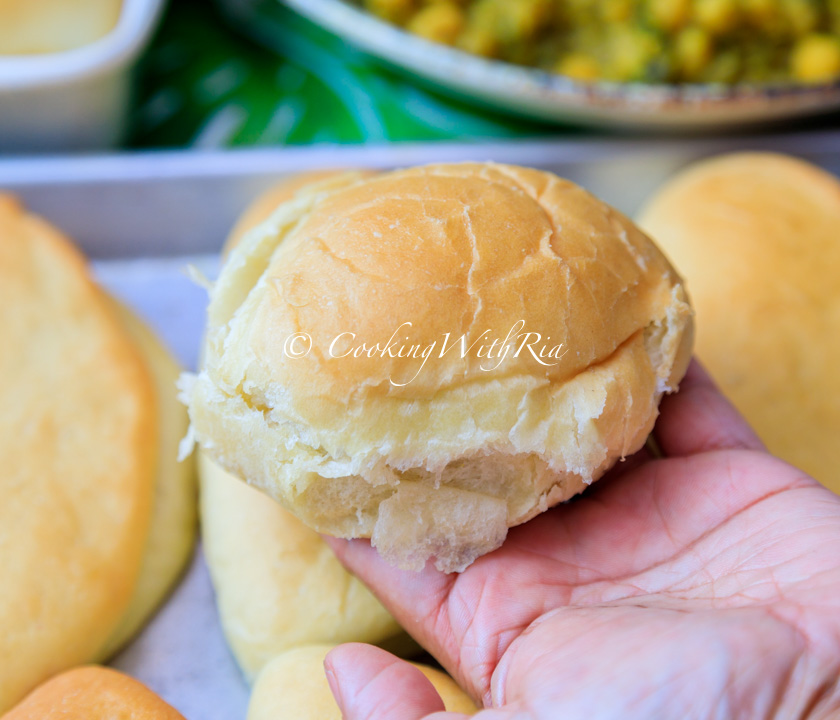
The clues are in its name! These simple yet flavorful sandwiches consist of soft, freshly baked hops bread stuffed with savory, spiced boil channa (click to check out my previous post). Optional toppings like cheese and pepper sauce add an extra layer of indulgence.
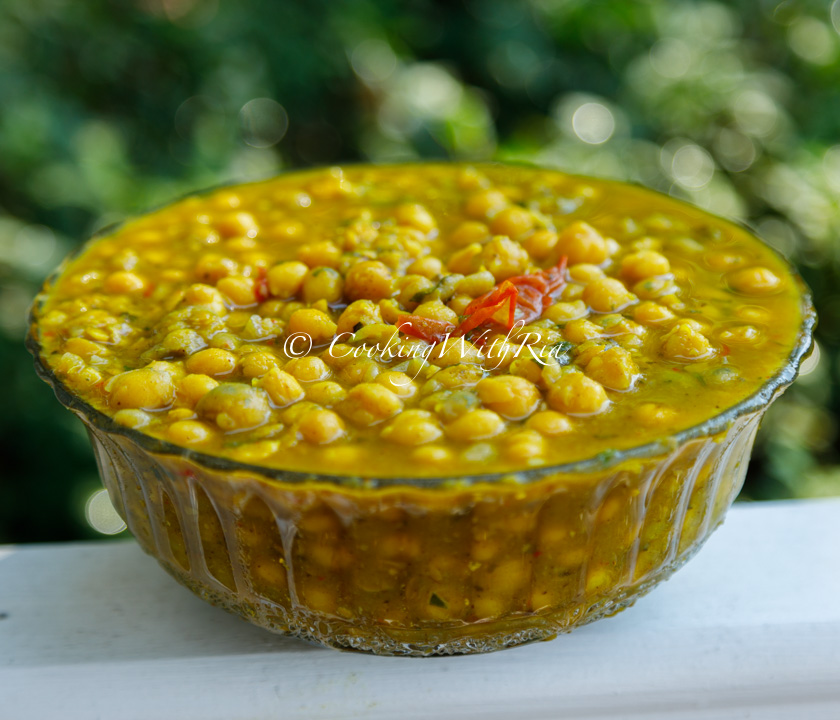
However, my love affair with Nick’s sandwiches was cut short when they confirmed they use MSG in their channa (this was back in 2016- good to double check nowadays). Due to my MSG intolerance, I had to reluctantly stop indulging in these tasty treats. Determined not to let this setback end my enjoyment of bread and channa, I decided to recreate this Trinidadian classic at home, with a few personal touches.
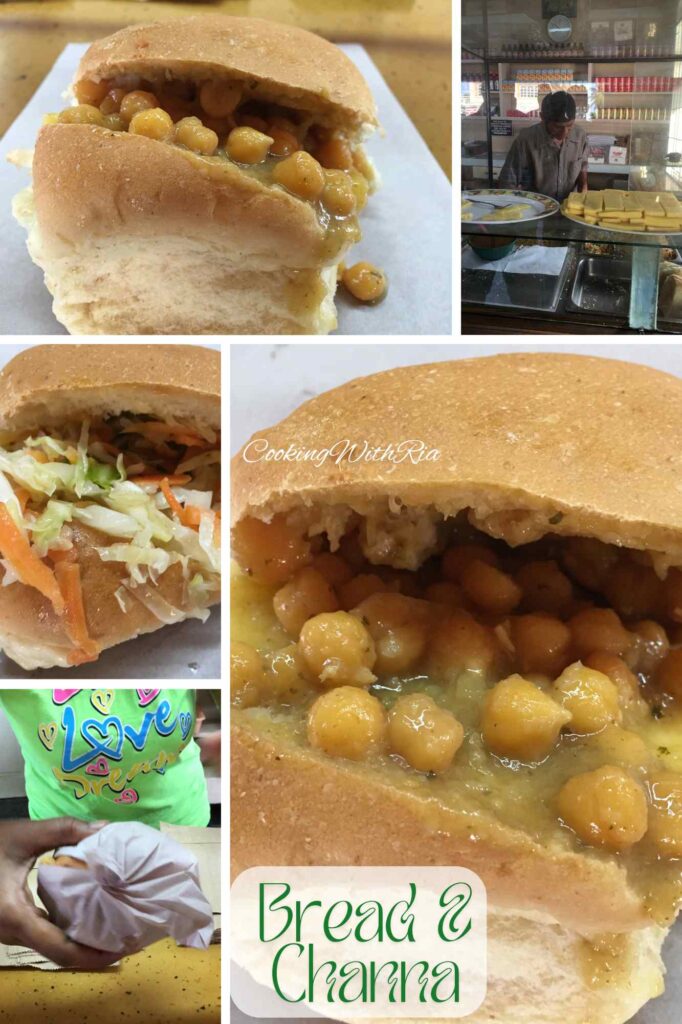
Creating the Perfect Bread and Channa at Home-the twist
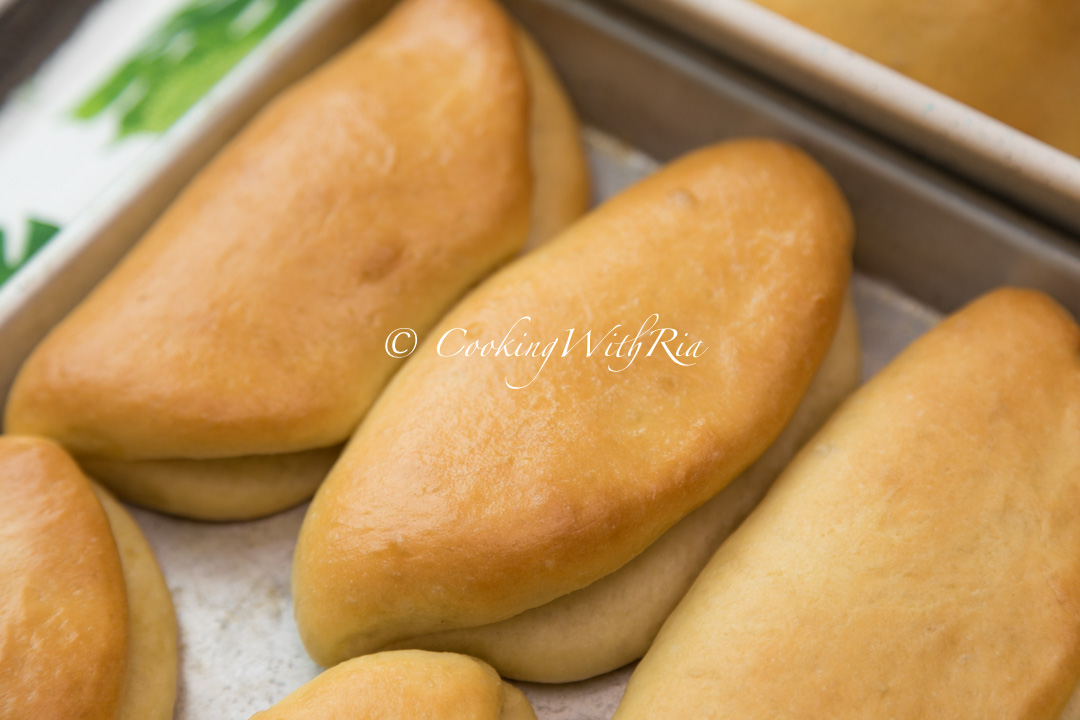
One of the changes I made was to the bread itself. While traditional hops bread is delicious, I found that altering the shape of the bread could make the sandwich even more satisfying. My inspiration came from Caribbean butterflap and coco bread, both of which are known for their ability to hold generous fillings.
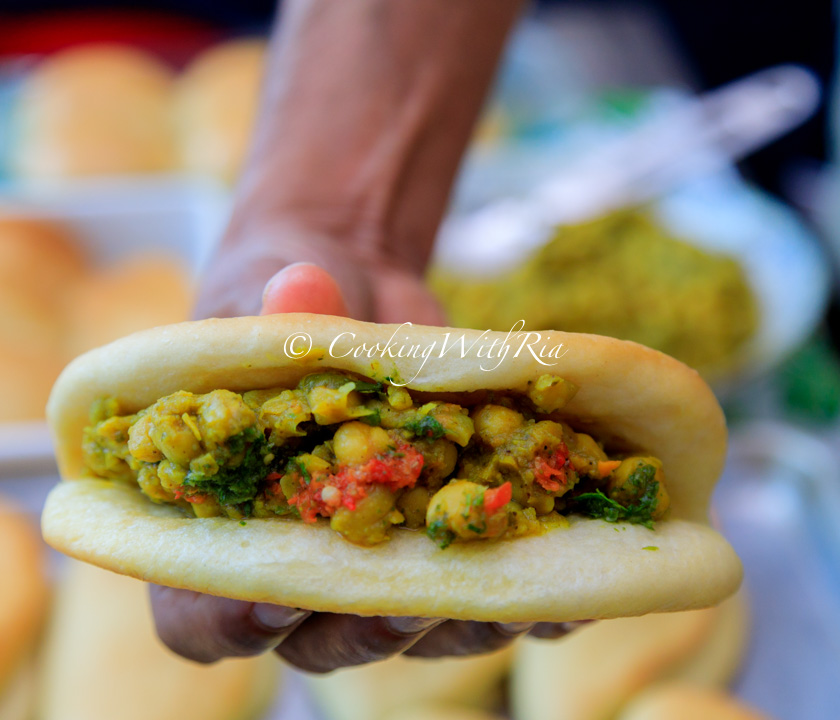
To make my version of coco bread / butter flap bread, I roll out the dough into a round, butter it generously, and fold it in half to create a pocket. (Traditional butterflap requires an extra fold). This pocket is perfect for stuffing with a hearty serving of channa, ensuring that every bite is packed with flavor. The result is a more filling and balanced sandwich that can easily stand on its own as a meal.
Why Bread and Channa Deserves More Love
Bread and channa is a versatile dish that can be enjoyed at any time of day—whether you’re looking for a hearty breakfast, a satisfying lunch, a quick snack, or even a light dinner. While it shares some similarities with the more popular Trinidadian street food, doubles, bread and channa offer a different experience. Firstly, there is no frying, which equates to fewer calories-not that we Trinis care too much about that when it comes to our tasty staples. Being a tad bit healthier and much easier to make than doubles, one can certainly add it more regularly to the weekly meal rotations or pack it for school and adult lunches!
If you’re interested in a more traditional experience, you can always stick with the classic hops bread. I’ve shared a traditional hops bread recipe here for those who prefer to keep things classic. The butterflap / coco bread recipe will be posted shortly.
A Sandwich with a Story
This bread and channa recipe is more than just a meal; it’s a personal journey. It’s about taking a beloved Trinidadian street food and making it accessible for those of us who have dietary restrictions or who simply enjoy experimenting in the kitchen.
By tweaking the bread and creating a channa filling that’s MSG-free, I’ve managed to bring back the joy of this delicious sandwich into my life—and hopefully, into yours too.
So whether you’re new to Trinidadian cuisine or a seasoned pro, I encourage you to give this bread and channa recipe a try.
It’s a satisfying way to enjoy a piece of Trinidadian culinary heritage, without the guilt of buying out (may not even be available where you live) and with a sense of accomplishment of making it at home.
Other Recipes You Will Love:
Instant Pot Curry Channa and Aloo
Curry Channa and Aloo (Stove Top, pre boiled channa)
Curry Channa with Eggplant (Baigan)
Trinidad Bread and Channa
Ingredients
Boil Channa
- 1 pound chickpeas dried, soaked overnight
- 1 tsp baking soda
- 6 cups water
- 2 teaspoons turmeric powder.
- 4 tablespoons minced bandhania (culantro) aka culantro, or green seasoning
- 3 tablespoons minced garlic.
- two pimento peppers minced, optional
- hot pepper to taste, optional
- 2 teaspoons ground roasted cumin.
- 4 tablespoons minced bandhania (culantro) for finishing
- 5 teaspoon himalayan salt or to taste
Hops Bread
- 3 ½ cups all-purpose flour plus more as needed
- 4 tbs milk powder
- 2 tsp instant yeast
- 3 tbs brown sugar
- 4 tbs butter for dough
- 1 teaspoon salt
- 1 ½ cups water or milk, lukewarm
Instructions
Boil Channa Instructions:
- Soak the Chickpeas: Start by soaking 1 pound of chickpeas overnight. This softens them and reduces the cooking time.
- Prepare the Seasonings: Mince 4 tablespoons of bandhania, 3 tablespoons of garlic, 2 pimento peppers, and hot pepper to taste. Set half of these seasonings aside.
- Cook the Chickpeas: Place the soaked chickpeas in an Instant Pot along with 6 cups of water, 1-2 teaspoons of turmeric powder, 5 teaspoons of salt, and half of the prepared seasonings. Cook under pressure for 20 minutes.
- Mash and Sauté: After cooking, release the pressure, stir, and mash about a cup of the chickpeas to create a thicker texture. Use the sauté function on the Instant Pot and cook for an additional 20-30 minutes, allowing the sauce to reduce and thicken.
- Final Seasoning: Add the remaining minced bandhania, garlic, pimento peppers, 1 1/2 teaspoons of ground roasted cumin, and any additional salt if needed. Stir well and continue cooking until all the flavors are well combined.
- Serve: Enjoy your Cup ah Channa on hops bread, with roti, or over rice, topped with extra bandhania and a dash of hot pepper sauce for added heat.
- This dish is perfect as a snack, a meal accompaniment, or a satisfying remedy for a hangover. Its rich, seasoned flavors are sure to make it a favorite in your kitchen!
Hops Bread Instructions:
- Place all the dry ingredients in a bowl and mix to combine.
- Mix the melted butter and milk and gradually add to the dry ingredients to form a sticky dough. Once the dough comes together, sprinkle in flour (1 – 2 tablespoons only) to make the dough manageable (but not dry). Knead for 10 mins—folding toward the middle, spin and fold. Place the dough in an oiled bowl, ensuring that the entire surface is oiled. Cover with plastic wrap or a kitchen towel and set in a warm area for 20 mins.
- Remove the cover and knead, using the same technique for exactly one minute.
- Place the dough back in the oiled bowl, cover and set in a warm area for the second proofing, 60-90 minutes. It may take longer in a cold climate.
- After it has doubled (or tripled) in size, press dough to remove air and divide into 12 or 16 pieces. To make the balls or loyahs, fold the dough towards the top and pinch to seal. Roll between the palm of your hands to shape it into a ball. Repeat with the remaining dough.
- Place the dough in a prepared baking pan and allow it to rise (third proofing) until doubled, 30-60 mins, depending on the room temperature.
- Preheat the oven to 350 degrees F and place the baking pan in the middle rack. Bake for 25-35 mins or until the dough has once again doubled in size, is golden brown, the house smells amazing, the bread is hollow when tapped and light in weight. Brush the top with butter if you want a softer crust and enjoy.


JOIN OUR COMMUNITY
Popular Curry Chicken Recipes
Meet Ria!
A Trinidadian culinary connoisseur sharing recipes from Trinidad and the Caribbean with a modern twist.