Table of contents
- What is Dhalpuri?
- The origins of dhalpuri
- How is dhalpuri made?
- Is dhalpuri a street food?
- Dhalpuri – gaining international acclaim
- What to eat with dhalpuri?
- What is the cost of a dhalpuri in Trinidad?
- What is the cost of a dhalpuri meal in the US?
- How long does it take to make dhalpuri
- Storing tips for dhalpuri
- What are the other types of roti in Trinidad?
- Did you try this recipe and love it?
- Dhalpuri meal ideas (photo gallery)
What is Dhalpuri?
Hello Friends! After posting this dhalpuri video on YouTube, it has quickly become one of the most viewed videos I have created–now more than 1.5 million VIEWS!!
I know many of you will also appreciate the printable recipe and introduction for dhalpuri, so this is for you!
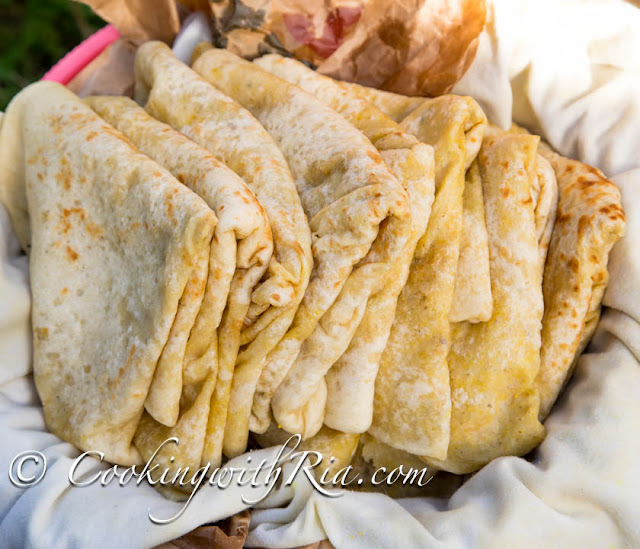
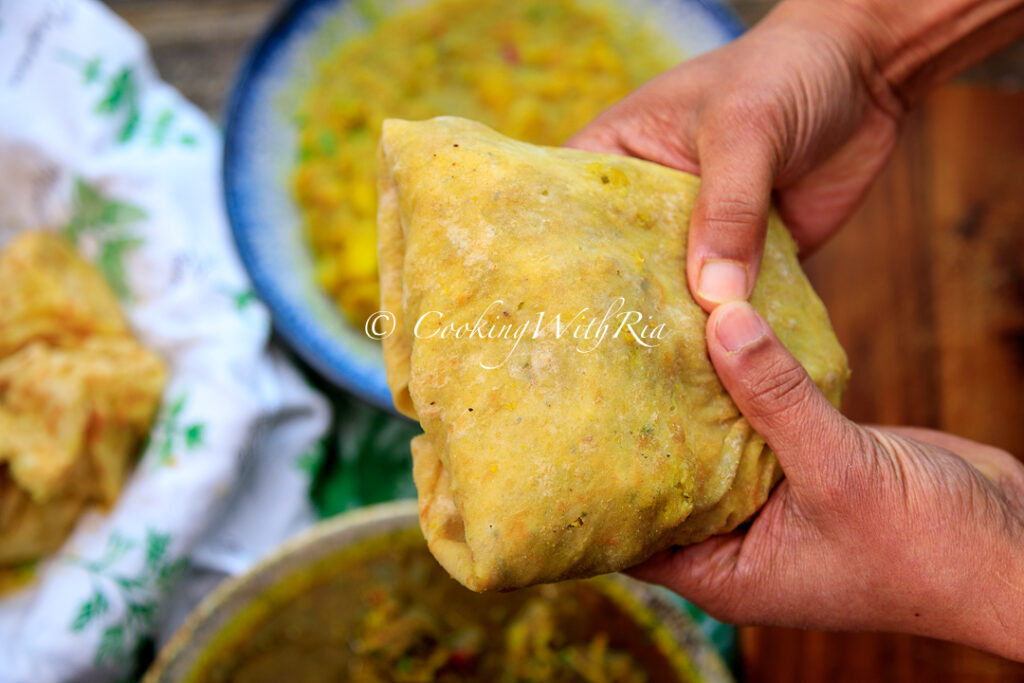
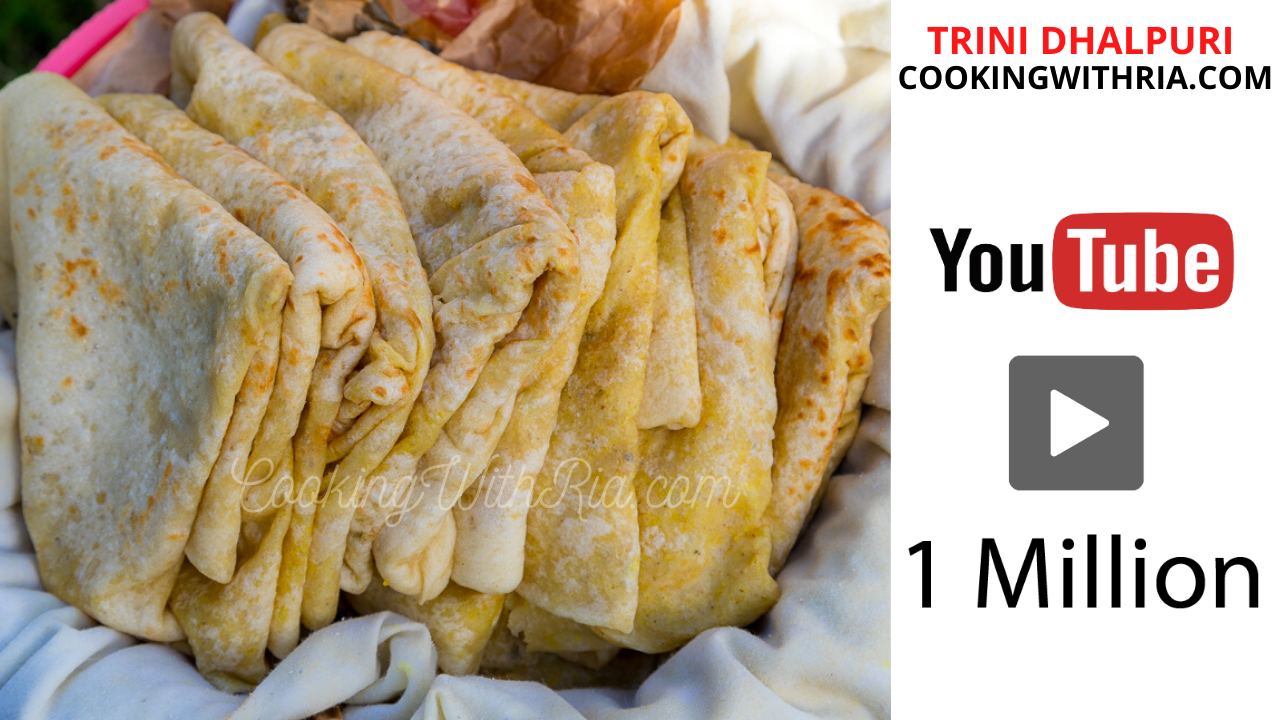
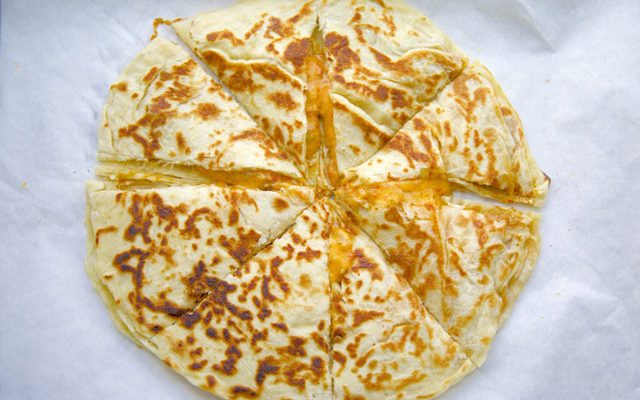
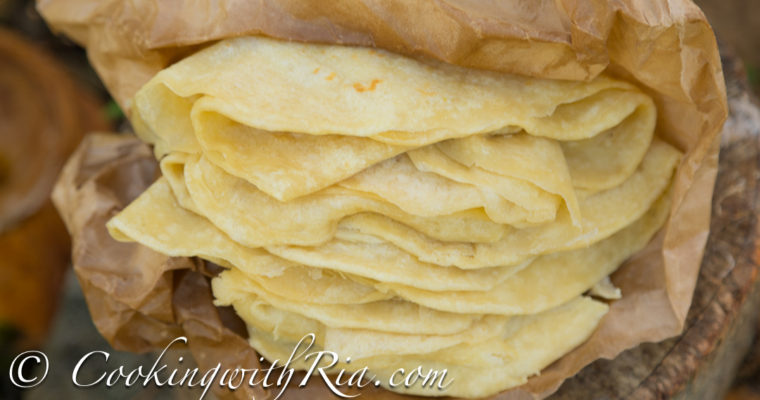
Dhalpuri, also known as dhal puri, dalpuri or dhalpourie is one of the most popular rotis in Trinidad. It is a stuffed flatbread, deeply rooted in Indo-Trinidadian cuisine.
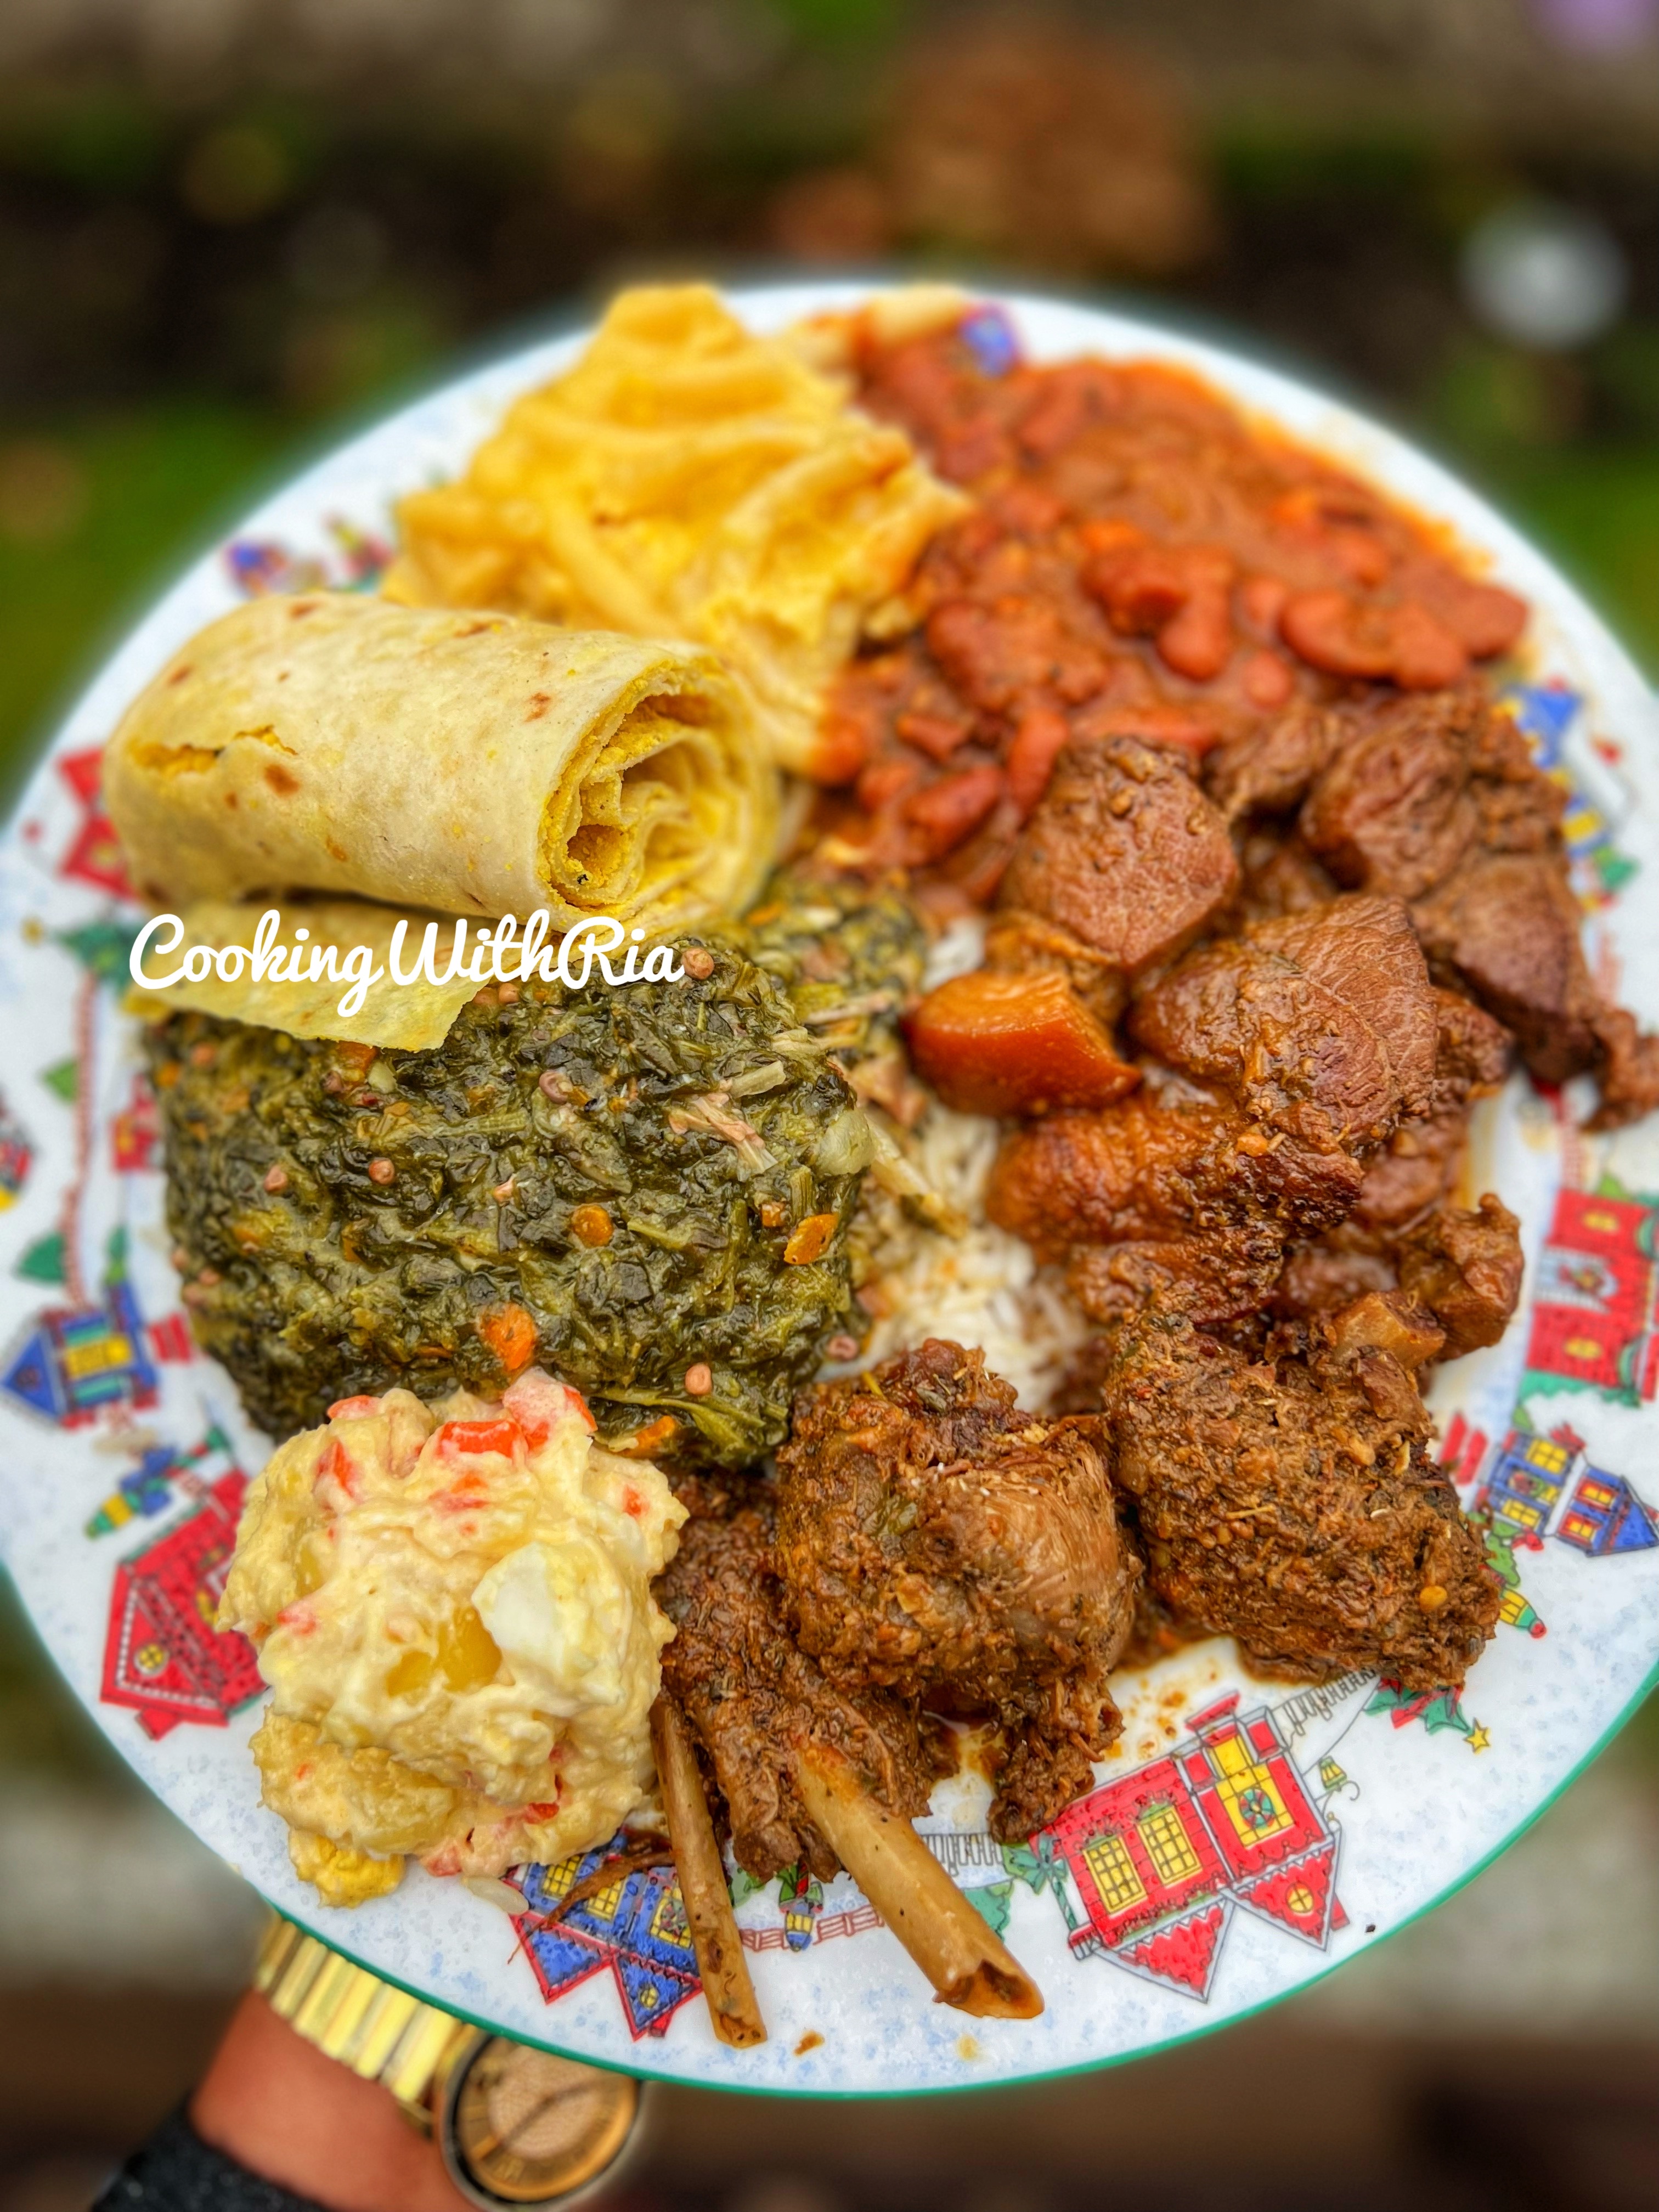
Traditionally served with curries, and stews including stewed beans, callaloo and traditional veggie dishes (see list below with links) dhalpuri is a staple at festive occasions, holidays, family gatherings, and daily meals in Trinidad(Sunday lunch). Its unique flavor comes from the aromatic blend of seasonings in the split pea filling, making it a beloved dish in the island’s culinary tradition.
The origins of dhalpuri
Many of these indentured laborers arrived with the hope of eventually returning to their homeland, but over time, most settled in Trinidad and integrated their cultural practices into local society. While it’s believed that many of our ancestors hailed from the Uttar Pradesh region of India, there is still no definitive documentation confirming this origin, which leaves room for further research and exploration.
Dhalpuri has its roots in the experiences of indentured servants who came to Trinidad to work in the sugar cane fields, arriving primarily from India in the mid-19th century. These workers brought with them various culinary traditions, including the technique of making stuffed flatbreads, which evolved into what we know today as dhalpuri.
For a deeper understanding of the experiences of Indian indentured immigrants in Trinidad, you can read this excellent article summarizing their arrival and settlement: The Experience of Indian Indenture in Trinidad.
The legacy of these early immigrants is evident in the rich collage of Trinidadian cuisine, with dhalpuri standing out as a delicious symbol of their enduring influence.
How is dhalpuri made?
To make dhalpuri, the soft dough is lovingly and expertly filled with ground and well-seasoned split peas. The dough is then rolled thin with a belna (rolling pin) and cooked on a tawa (flat griddle) until soft, slightly charred, and puffs up.
How to make the split peas filling for dhalpuri?
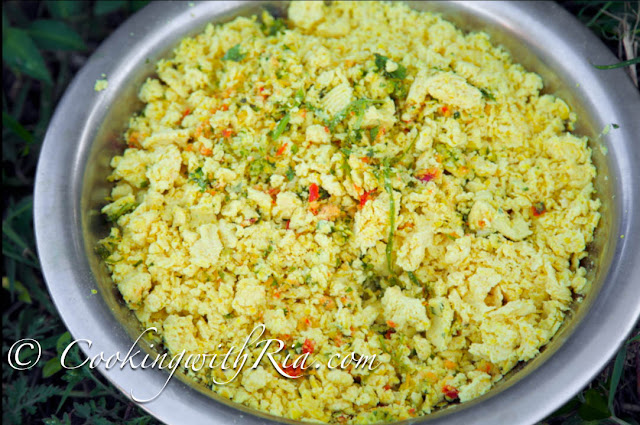
The split peas are first boiled until tender but firm, and ground with garlic and culantro (bandhania), and liberally spiced with toasted, ground cumin. The filling is then expertly stuffed into a dough which is then rolled out and cooked on a tawa. Oil is brushed on during the cooking process to assist in cooking and amplifies the flavor and overall enjoyment of the roti!
It appears to require a lot of arduous labor but if you prepare the filling in advance, it’s not more difficult than paratha. Today, I am here to dispel any doubts about your ability to make dhalpuri at home.
What type of split peas (dhal, dal) is used to make dhalpuri?
In Trinidad, we use ‘dhal’ which is yellow split peas. You can purchase it at any supermarket. If buying it from an Indian supermarket or grocer look for chana dal. Find links (affiliate) to the exact products used or recommended in the recipe card below.
Is dhalpuri a street food?
While dhalpuri isn’t technically classified as street food, it is widely available at numerous roti shops throughout Trinidad, making it accessible to everyone. It is a convenient, filling fast food!
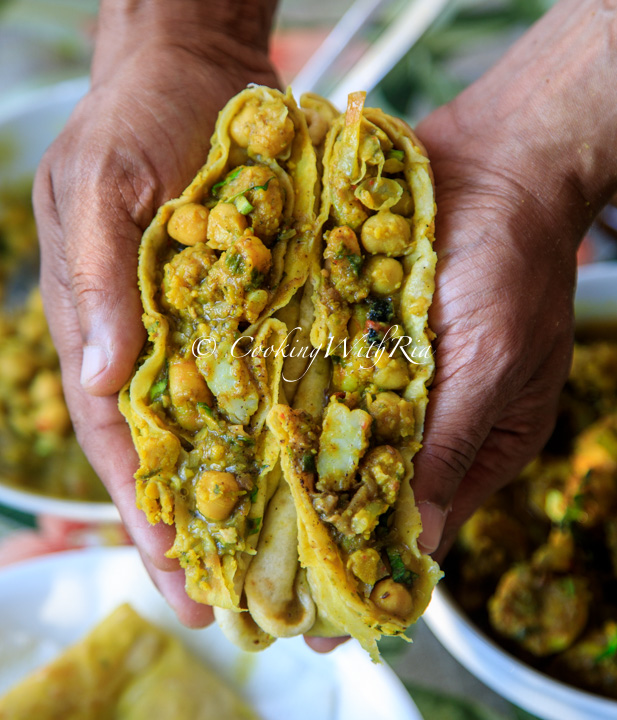
On a recent trip to Trinidad, we had the delightful experience of enjoying dhalpuri from a nighttime, roadside vendor. Standing by the curb, we savored this traditional dish (being made fresh and hot to order) with our favorite fillings, including curry chicken, channa and aloo, and pumpkin talkarie. This experience captured the essence of enjoying local food in a relaxed and communal setting, highlighting how dhalpuri can easily be part of a vibrant street food culture
Dhalpuri – gaining international acclaim
Dhalpuri gained widespread international recognition after being featured on the popular Food Network show Diners, Drive-Ins, and Dives, where host Guy Fieri visited a Trinidadian restaurant in the U.S. and showcased the dish. More recently, influential food bloggers and social media personalities like Mark Wiens have visited Trinidad and highlighted its vibrant local cuisine, with dhalpuri taking center stage as a beloved traditional dish. These platforms have significantly contributed to the global appreciation of Trinidadian food, especially dhalpuri.
What to eat with dhalpuri?
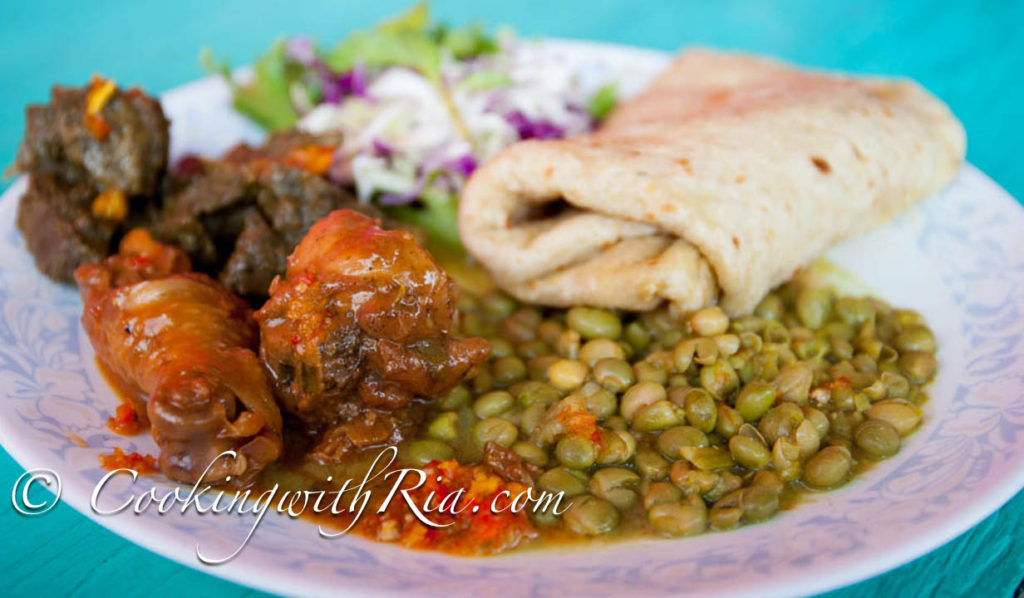
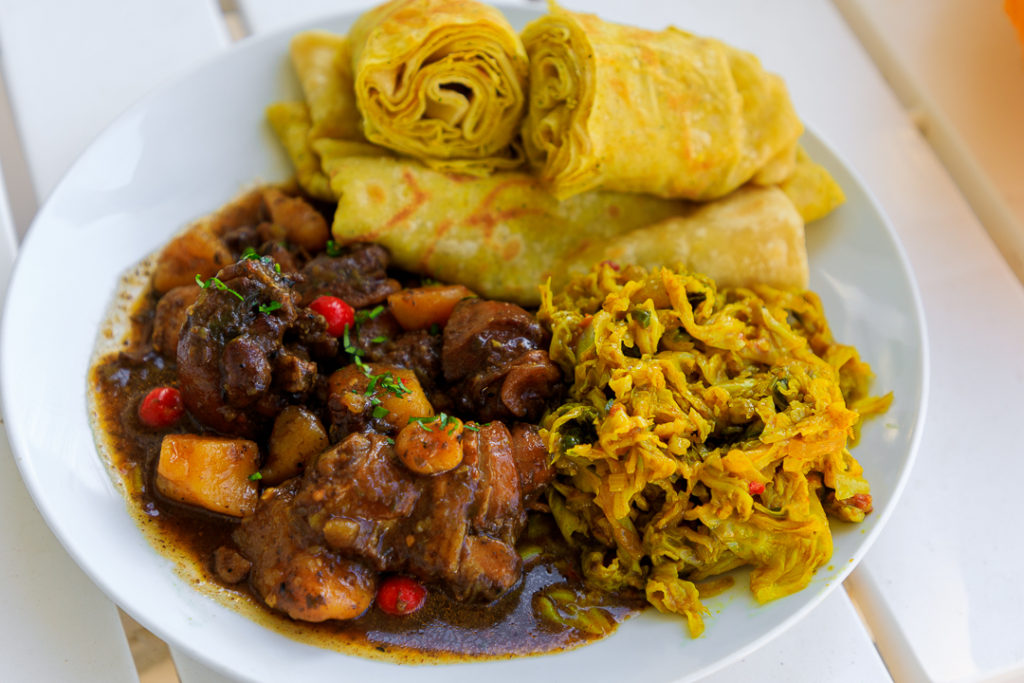
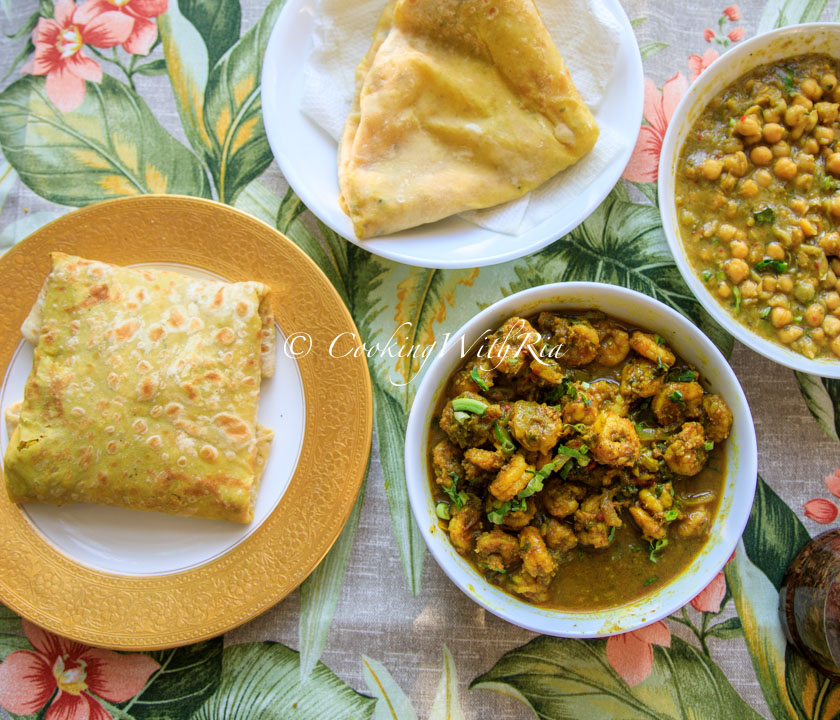
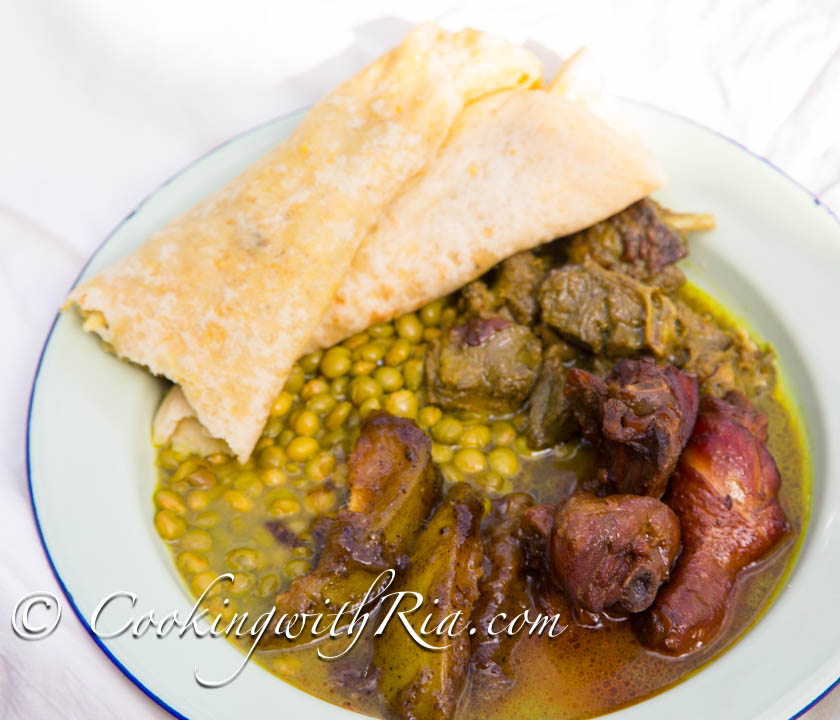
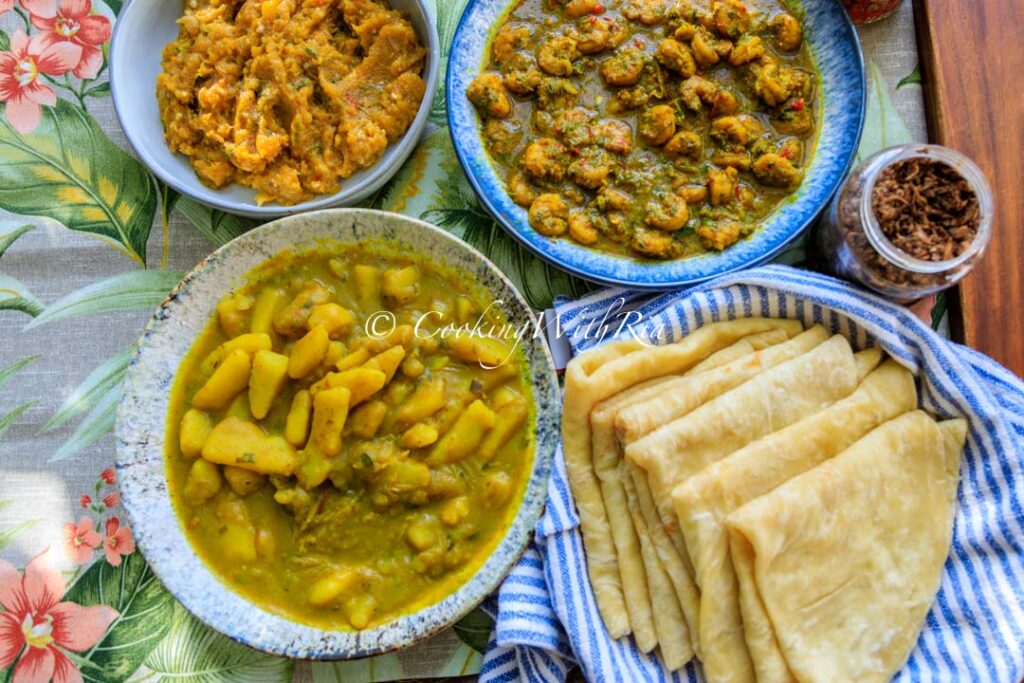
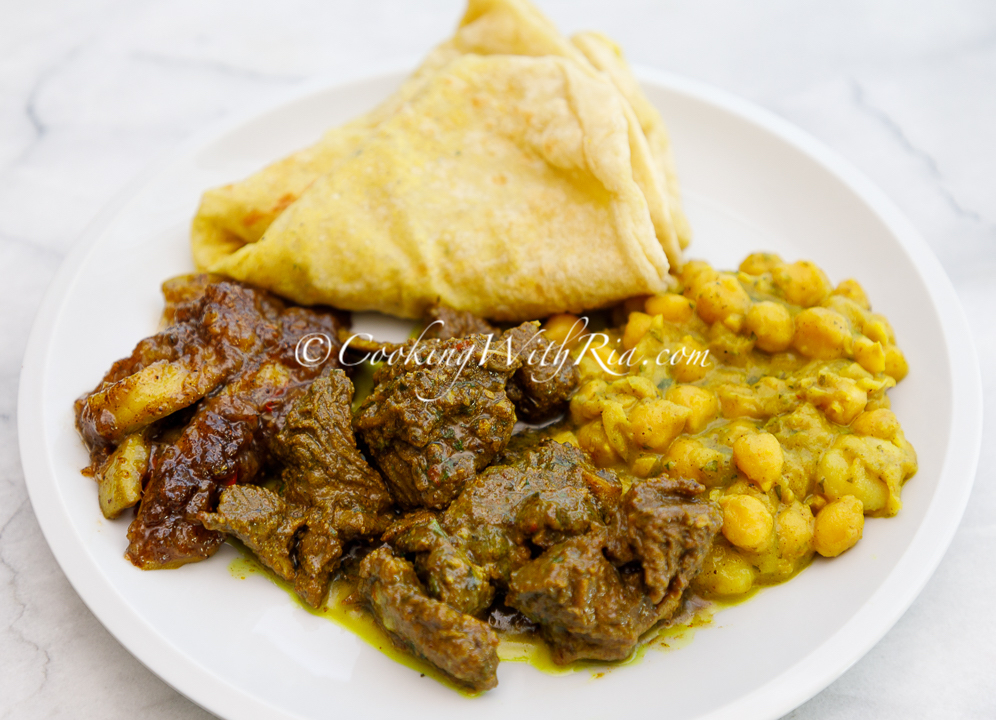
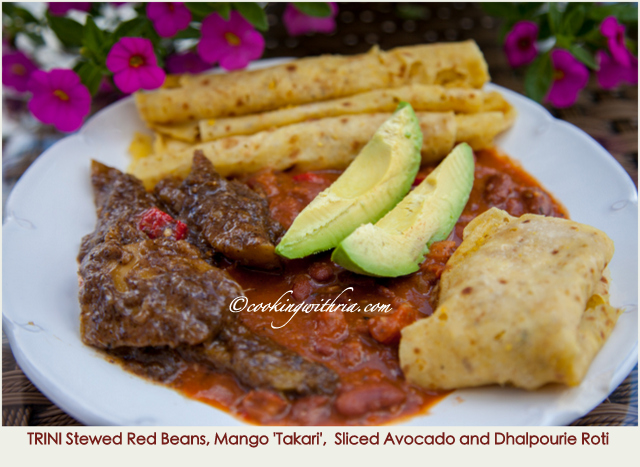
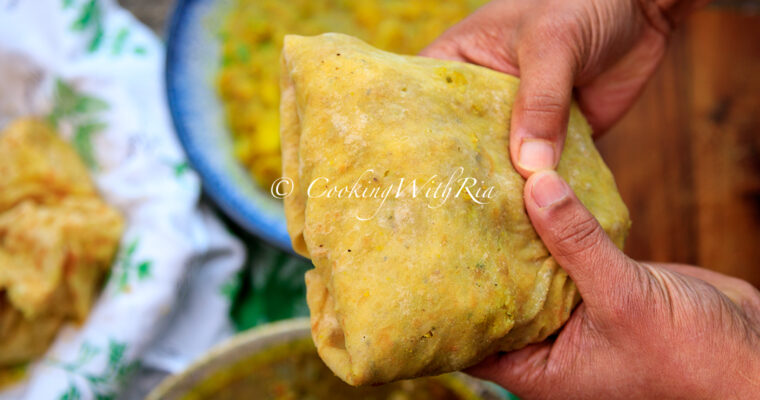
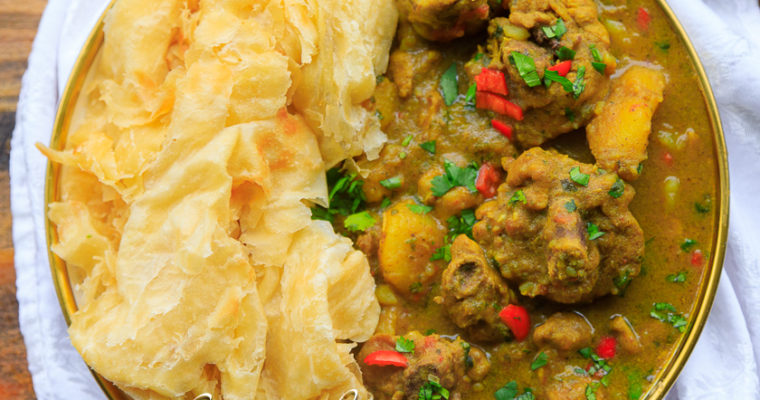
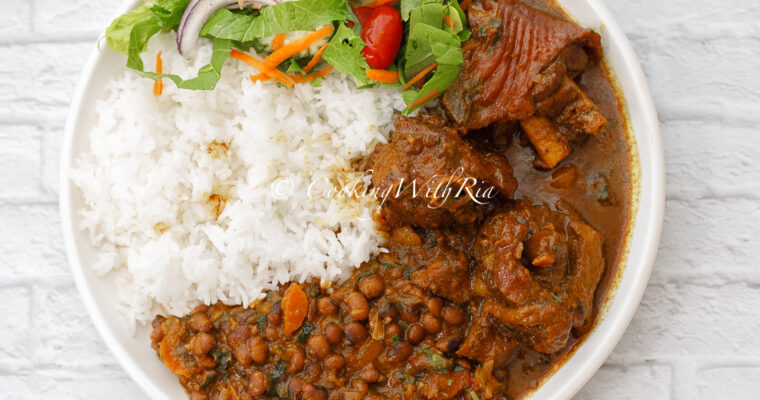
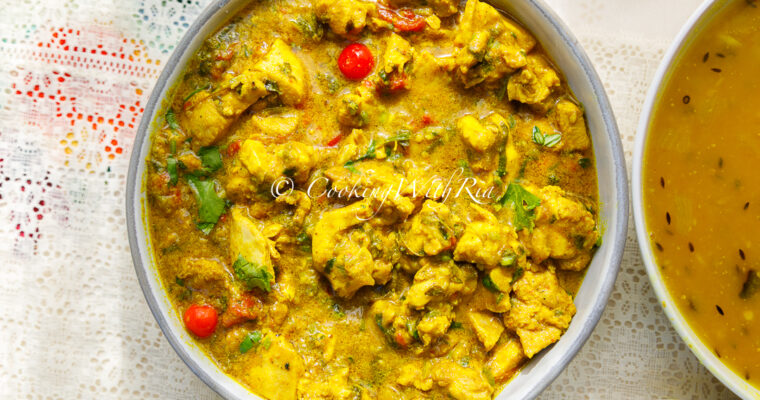
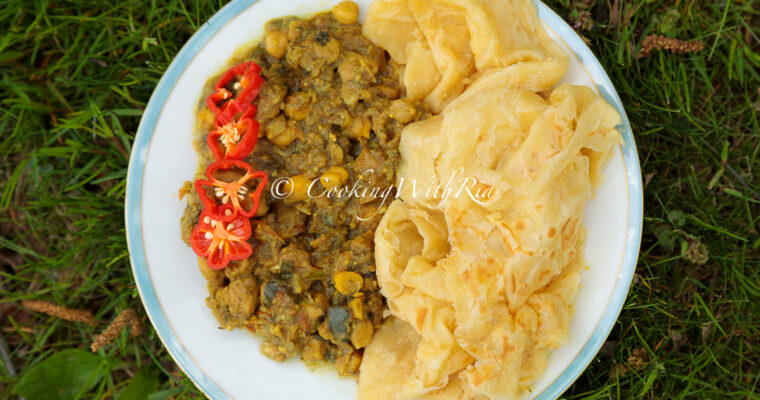
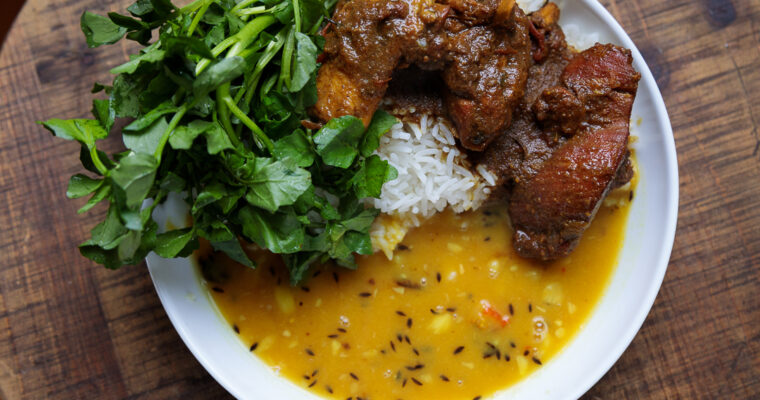
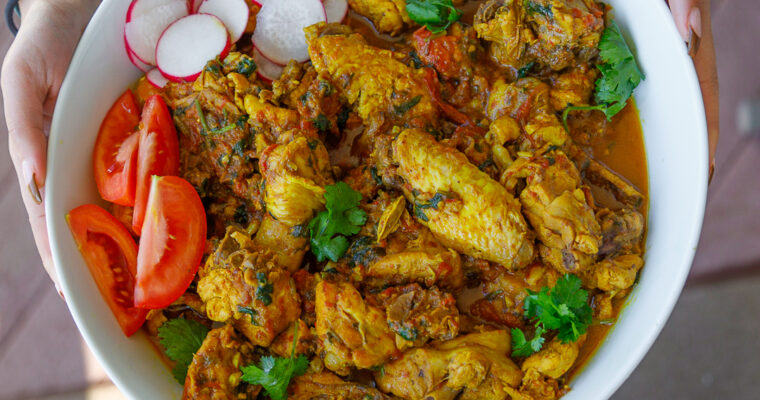
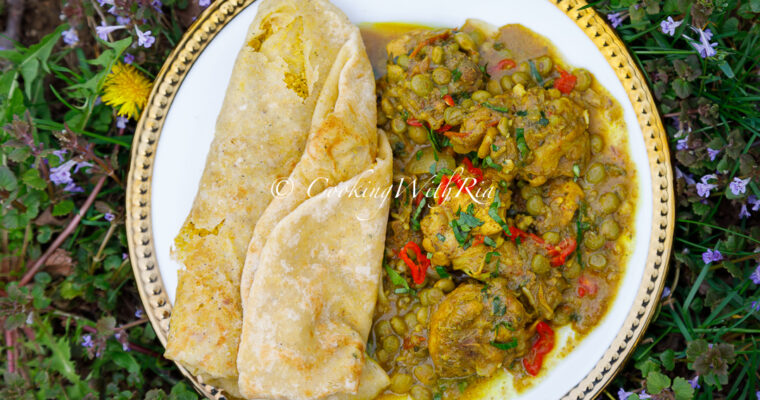
Dhalpuri is eaten with the following in various combinations, it can be wrapped (wrapped roti) or eaten on the side:~
- ~curry aloo(potato)~
- ~curry shrimp
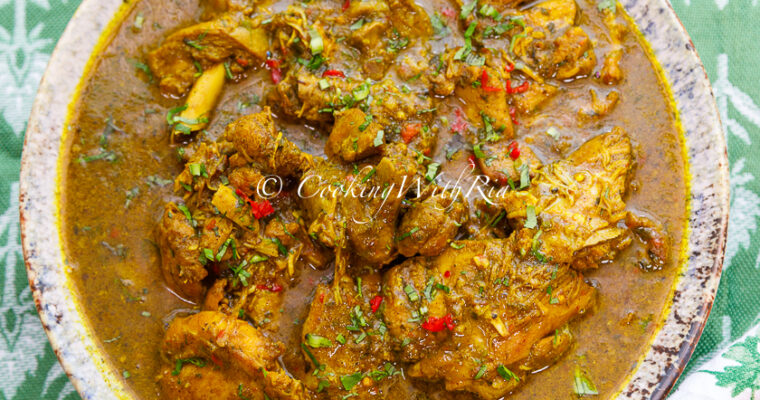
- ~curry chicken
- curry chicken with potato
- curry chicken with pigeon peas
- 20 min boneless curry chicken
- curry chicken with eggplant and chickpeas
- Trinidad curry chicken – latest recipe
- curry stew chicken
- ~stew chicken
- stewed chicken with potatoes
- ~curry or stew beef
- ~curry goat
- ~curry channa and aloo
- ~curry duck
- ~peas dhal
- ~stewed red beans or callaloo
- ~mango talkarie or curry mango
- ~curry baigan(eggplant) and aloo (potato)
- ~curry channa and aloo with baigan (eggplant)
- or as part of a traditional Trini Sunday lunch
- ~other veggie dish on the side–see Trinidad’s top 10 vegan recipes here.
- Trinidad Chicken Roti
- Trinidad Curry Shrimp Roti
It’s even enjoyed with a dessert—sweet rice—known as rice pudding to the rest of the world.
What is the cost of a dhalpuri in Trinidad?
As of the writing of this post, a dhalpuri roti costs range from 15-25 TT dollars, depending on the size. Keep in mind that 1 US dollar is equivalent to about 6-7 TT dollars.
What is the cost of a dhalpuri meal in the US?
In the United States, the price can range from $5.50 for a potato roti to $15 for a curry duck roti.
How long does it take to make dhalpuri
Time breakdown
- Make the split peas filling (can be done in advance)
Boil for 20-30 mins | drain and cool for 1 hour approx
Grind, 10 mins
Cook, (parch), 5 mins (optional step-just mix the seasoning in) - Knead the flour, 15-20 mins (knead 5, rest 15)
- Fill the dough, 15 mins
- Roll out and cook, 20 mins
Storing tips for dhalpuri
To maintain the freshness and flavor of your dhalpuri, consider the following storage tips:
- Cooling: Allow the dhalpuri to cool completely at room temperature before storing. This helps prevent moisture buildup, which can lead to sogginess.
- Refrigeration: Place the cooled dhalpuri in an airtight container, or wrap it tightly(individually) in plastic wrap or a paper towel, then place it in a resealable bag. Store it in the refrigerator if you plan to consume it within a few days (typically up to 3-4 days).
- Freezing: For longer storage, dhalpuri can be frozen. Place parchment paper between each flatbread to prevent sticking(or wrap individually with parchment paper), wrap with foil, then seal them in a freezer-safe bag or container. Frozen dhalpuri can last for about 2-3 months.
- Reheating: When ready to eat, thaw the frozen dhalpuri in the refrigerator overnight. You can reheat it on a tawa-hot skillet- for a few minutes on each side(nothing better than a crisp leftover dhalpuri), or in a microwave wrapped in a damp paper towel to keep it moist. Overheating in the microwave will result in rubbery, stiff dhalpuri, so don’t set it and forget it for a long time!
- Avoiding Odors: Keep the dhalpuri away from strong-smelling foods in the fridge, as they can absorb odors, altering their flavor.
What are the other types of roti in Trinidad?
The other types are sada roti, buss up shut roti, also known as paratha roti, dosti roti, a two or three-layered roti, pepper roti, lentil puri, peas puri, and aloo roti! Check out these traditional favorites on my blog and YouTube channel! See Mastering the Art of Making Trinidad Roti here and the corresponding YouTube Video Tutorials/Playlist here.
Did you try this recipe and love it?
We’d love to hear your thoughts—please leave a comment below to share your experiences with this delicious dish or any variations you enjoy. If you found this post helpful, consider giving it a rating! Your feedback helps us create more content that you’ll love.
Don’t forget to subscribe to our newsletter for more recipes, tips, and culinary inspiration straight to your inbox. Happy cooking, and enjoy your dhalpuri!
DHALPURI | DHALPOURIE | DHAL PURI RECIPE
Equipment
- Bowl, to knead flour in
- Tawa, or griddle pan, to cook roti on
- Dabla or flat wooden spoon, to flip roti
- Pastry brush, to brush oil on dough
Ingredients
To boil:
- 1 lb yellow split peas about 2 cups
- 12 cups water
- 1 teaspoon turmeric
- 1 tablespoon Himalayan salt
To grind and cook:
- Hot pepper habanero, scotch bonnet or wiri wiri, to taste
- 6-8 cloves garlic
- 6-8 leaves culantro bandhania
- 3 tablespoons oil vegetable
- 1 tablespoon ground cumin geera, roasted
- 1 tsp Himalayan Salt or other salt to taste
For the Dough:
- 4 cups all-purpose flour
- 2 teaspoons baking powder
- 2 teaspoons brown sugar
- 1 teaspoon salt HImalayan
- 1 tablespoon oil Vegetable
- 1 1/2 cups lukewarm water a little more or less may be needed
- 1/8 teaspoon instant yeast optional
For Cooking:
- 3/4 cup vegetable oil for cooking roti
Instructions
TO MAKE FILLING:
- Fill a saucepan with 12 cups water and place over medium heat.
- Pick through and discard any stones or debris. Rinse split peas, rubbing between fingers, until the water runs clear.
- Add to the pot along with salt and turmeric and bring to a boil.
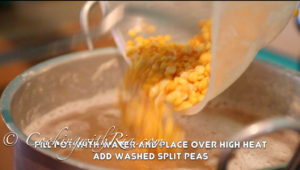
- Cook for 20-30 minutes or until dhal is cooked and firm (not soft) and crushes easily between thumb and forefinger with no grainy feel.
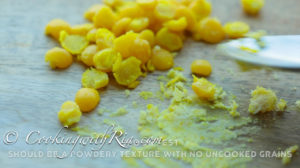
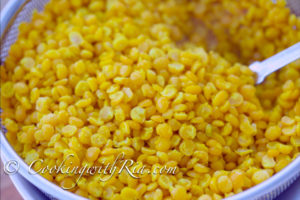
- Drain thoroughly and allow it to cool and dry.
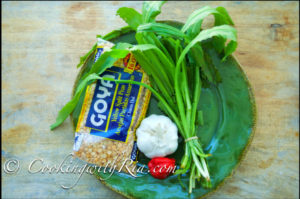
- Add garlic, hot pepper and bandhania to the bowl of the food processor and pulse until finely chopped. Set aside and wipe bowl as added moisture will make the split peas unmanageable.
- Add 1/3 split pease to the bowl of the food processor (or food mill) along with the garlic, hot pepper and bandhania and pulse to mince, scraping down the sides of the bowl at intervals to ensure even processing. Do not over mince into a paste! Transfer to a dish and repeat 2 more times with the remaining split peas.
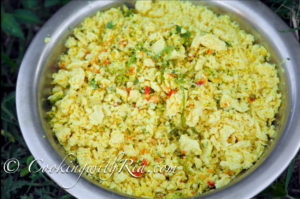
- To the bowl with the ground split peas, add cumin, salt, garlic, pepper and bandhania paste and mix well to combine.
- Heat 3 tablespoons oil in a large heavy bottomed pot over high heat, add ground split peas and cook for 3-5 minutes until light and grainy, stirring constantly to prevent sticking.
- The prep for the split peas can be done in advance and portioned out and kept in the freezer in small tightly closed resealable freezer bags. It will stay in the refrigerator for 2-3 days. The split peas usually makes enough filling for 8 cups of flour.
TO MAKE DOUGH:
- In a large bowl, add flour, baking powder, sugar and salt.
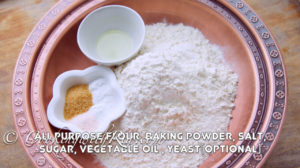
- Mix to combine and gradually add lukewarm water and squeeze dough between fingers to bring it together. Knead for 3 minutes. You want a soft dough—not as shaggy as buss up shot and not as firm as sada roti. Somewhere in between. Rub 1 tbs oil all over the dough and place in bowl and let rest for at least 15 minutes.
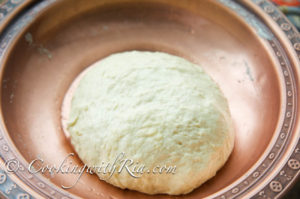
ASSEMBLING:
- Separate dough into 4 balls. Then separate each into two equal pieces. Form into small balls (making 8 balls). You can make 6 if you have a large tawa.
- Working with one piece of dough at a time, press and flatten each into a round 4-5 inch disk. Place 1/4 cup of dhal onto the disk and stretch the edges over and around the ground dhal to meet at the top, then press together or pinch the dough tightly to seal.
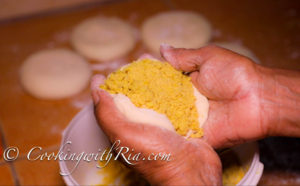
- Dust with flour and press all the way around to evenly disperse filling. Place on a floured counter and cover.
- Repeat with the remaining dough until all are filled. Many times it is ready to be rolled out immediately and does not require resting. Prolonged resting and make it difficult to manage since it becomes too soft and the dough is at risk of breaking while rolling out.
COOKING:
- Heat and oil tawa, flat iron griddle or a 10 – 12 inch cast iron skillet over medium heat.
- Meanwhile, dust counter and rolling pin with flour. Take one of the loyahs and gently flatten with your fingers. Starting from the center of the dough, roll out using a rolling pin, pushing outwards, then down, turning dough 90 degrees angle several times and flipping and repeating turning until it is a flat, even circle(about 1/8 inch thick and as wide as your tawa or pan), ensuring that the edges are also even. Amateurs: please do not roll out too thin which can cause breakage and seepage of filling. Keep it well floured at all times.
- Pick up the dough and gently place it on the tawa (or alternative) by flipping and rotating your wrists. Allow it to cook for 15-20 seconds, brush with oil and immediately flip. Brush again with oil and allow it to cook for another 15 – 30 seconds, then flip and cook for another 30 – 45 seconds, pressing edges with the back of the spoon to ensure that they are cooked.
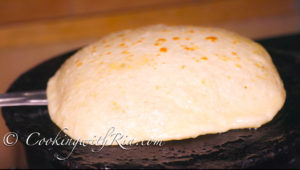
- Remove with the handle of a spoon, dabla or spatula and place in a large bowl lined with paper towel, kitchen towel or brown paper bags to absorb any excess oil. If at any time the the roti browns too quickly or the tawa starts smoking, reduce the heat. Alternately, if nothing seems to be happening raise heat.
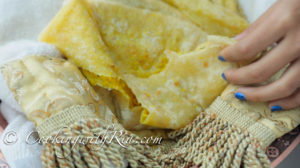
- Repeat rolling out and cooking until all are cooked. Enjoy!
Video
Notes
~curry shrimp
~curry chicken
~stew chicken
~curry or stew beef
~curry goat
~curry channa and aloo
~curry duck
~peas dhal
~stewed red beans
~mango talkarie
~other veggie dish on the side.
Nutrition
Dhalpuri meal ideas (photo gallery)



Thank U Ria. Easy recipe .
Wow. That video was so impressive and instructive. I thought I could do it until I saw how thin the filled dough was rolled out. Now I am just going to look for it in a restaurant. Great website. Kudos
This is the best recipe I’ve followed so far to make Roti, and I have lots of dhal puri left over to make more Roti’s later, I put it in the freezer as suggested.
I lived in Trinidad for a year and have fond memories of eating dhalpuri roti on a rainy day. Was looking for an authentic recipe and found it on your excellent site. My only suggestion is to make the font bigger. The recipe is quite difficult to read.
This is one of my favorites from a local queens restaurant. I love re creating different food and your instructions were perfect and so easy to follow. This came out delicious!