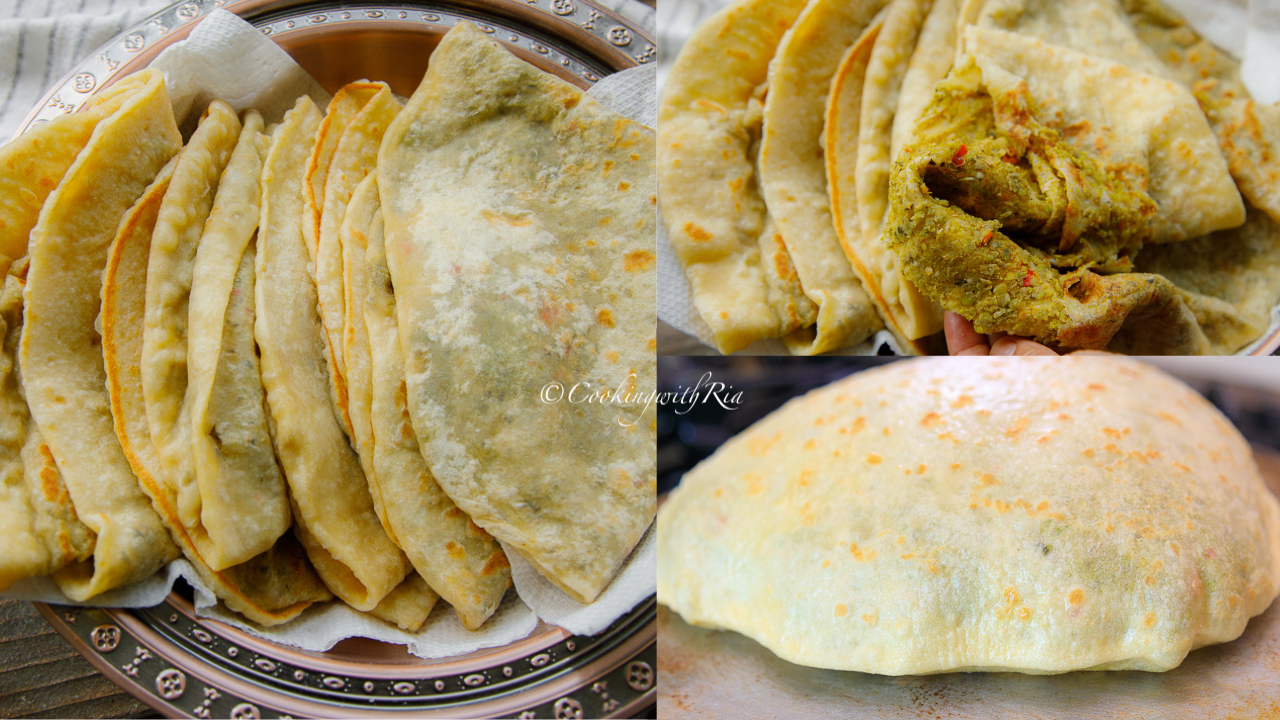
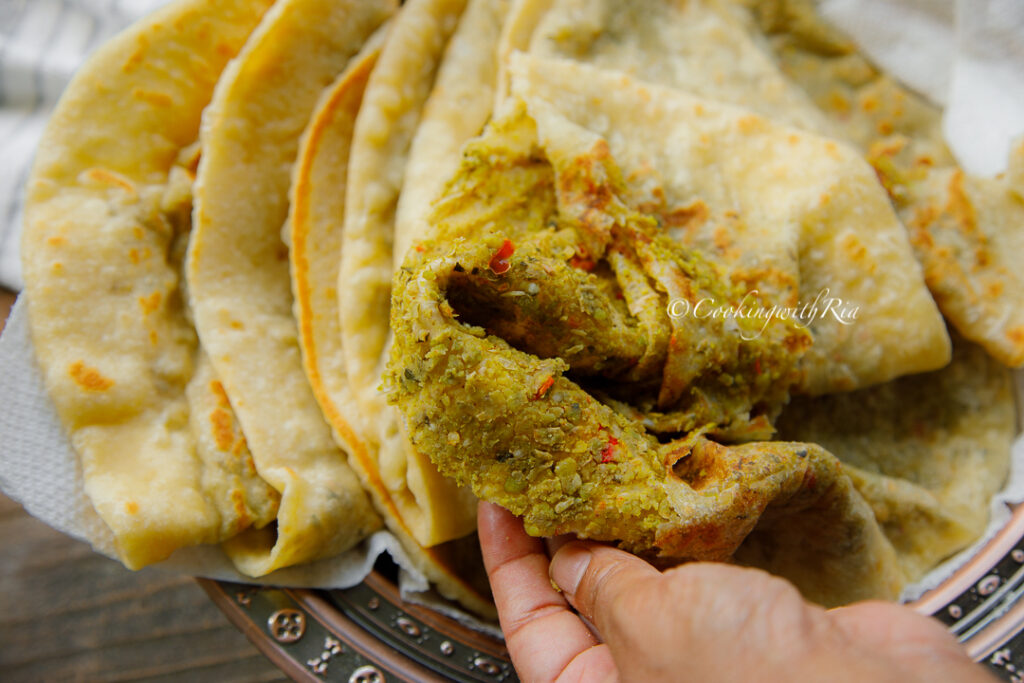
This Pigeon Peas Puri recipe is a hearty, stuffed roti made with seasoned green pigeon peas. Perfect with curry or on its own, it’s filling, flavorful, and a true Trini favorite.
Table of Contents
A Reader Request Fulfilled: Pigeon Peas Puri
After sharing my recipes for Dhalpuri and Lentil Puri on social media, the requests started pouring in for one more: Pigeon Peas Puri. I couldn’t ignore the excitement, and today, I’m thrilled to bring this beloved version to the blog. Like all the stuffed rotis I’ve made, this puri calls for the same process, patience, skill, and love—but the reward is deeply satisfying.
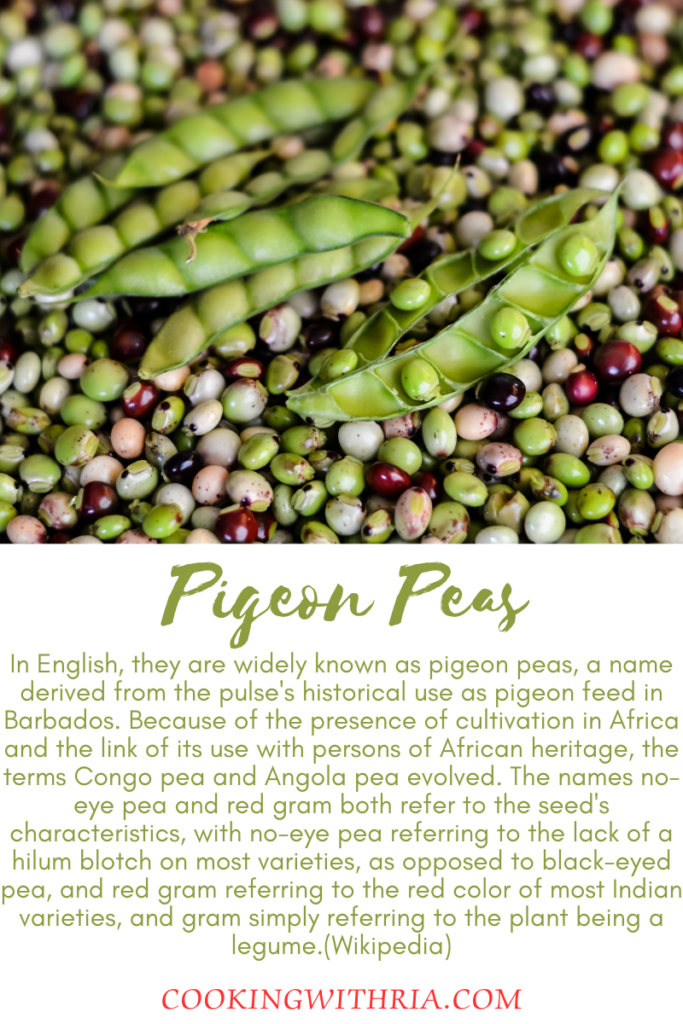
For the filling, fresh green pigeon peas are first boiled until tender but still firm, then ground in a food processor, and seasoned with bandhania(culantro, shado beni, recao), garlic, hot pepper, and ground roasted cumin. The filling is then stuffed into the dough, rolled out, and cooked.
Peas puri is excellent with curries and stews or you can enjoy it by itself! It is filling, tasty, and satisfying.
Why You’ll Love This Pigeon Peas Puri Recipe
- Flavor-packed: Earthy pigeon peas are seasoned with bandhania, garlic, hot pepper, and roasted ground cumin.
- Nutritious and filling: This hearty roti is packed with plant-based protein.
- Versatile: Serve it with curry, stew, or enjoy it as a standalone meal.
- Authentic Trini flavor: A delicious way to honor Trinidadian food culture.
- Freezer-friendly: Prepare the filling ahead and freeze for later use.
Ingredients You Will Need
For the Peas Filling
- Green pigeon peas (gandules) – The base of the puri; adds a nutty, earthy flavor.
- Garlic – Provides depth and pungency.
- Hot pepper – Adds a spicy kick.
- Bandhania (culantro) – Brings bold, herbal freshness. Cilantro or scallions can substitute.
- Ground roasted cumin (geera) – Warm and smoky, ties everything together.
For the Dough
- All-purpose flour – The base of the soft, stretchy dough.
- Baking powder – Helps puff the roti slightly.
- Brown sugar – Optional, balances the savory filling.
- Salt – Enhances the overall flavor.
- Lukewarm water – Helps bind the dough.
- Pinch of yeast (optional) – Adds softness and flexibility.
- Vegetable oil – Used for brushing the tawa and cooking the roti.
Health Benefits and Diet Info
This recipe is vegetarian, high in fiber, and rich in plant-based protein, making it great for those on a meatless diet or seeking wholesome meal options.
Equipment Needed
- Medium pot (for boiling peas)
- Food processor or blender
- Rolling pin
- Large bowl (for mixing dough)
- Tawa or flat cast iron pan
- Spatula or dabla (roti flipper)
- Clean towel or paper towels (for resting cooked roti)
Flavor Notes and Serving Suggestions
The spicy, earthy filling paired with the soft, chewy dough creates an irresistible combination. The cumin and bandhania offer smoky-herbal notes, and the touch of heat balances it all.
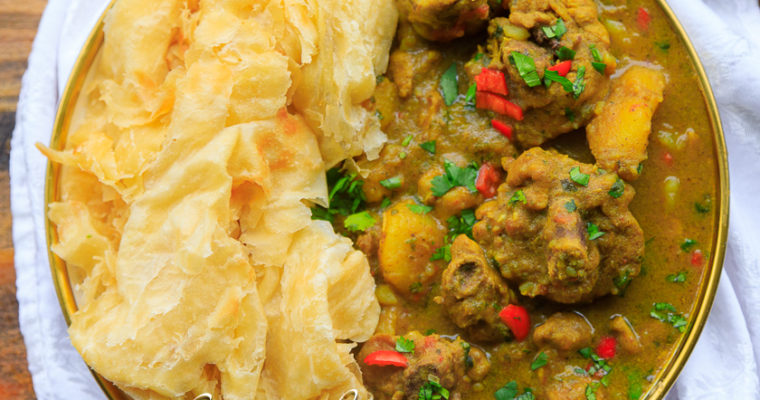
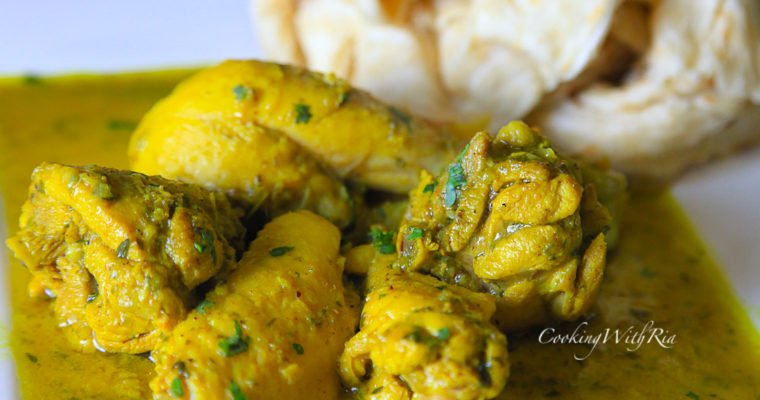
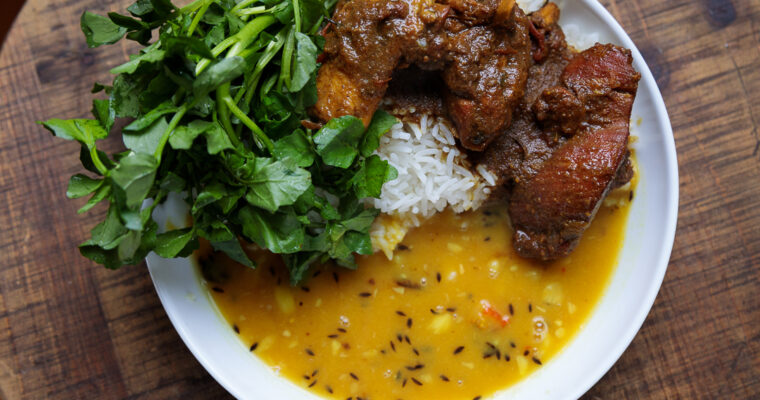
Serve it with:
- Curry Chicken with Eggplant and Chickpeas
- Curry Shrimp
- Curry Duck and Curry Aloo
- Stewed Chicken with potatoes
- Curry Stew Chicken
- Curry Baigan – Eggplant
- Curried Mango or Mango Talkarie, Pumpkin, Bhagee, or Fry Bodi with Shrimp
- Or simply enjoy it warm, on its own.
Substitutions and Variations
- No pigeon peas? Try sweet peas, but reduce the cooking time to just a quick blanch.
- No bandhania? Use scallion or cilantro.
- Want it spicier? Add more hot pepper or even a dash of pepper sauce to the filling.
- Make mini puris for a snack-sized version!
FAQs About Pigeon Peas Puri
Can I freeze the filling?
Yes, the seasoned filling can be frozen for up to 3 months.
Can I make this gluten-free?
You can try using a gluten-free flour blend, but results may vary in texture.
What’s the difference between dhalpuri and peas puri?
Dhalpuri uses split peas, while this version uses fresh green pigeon peas for a heartier, earthier flavor.
Can I make the dough ahead of time?
Yes, but keep it refrigerated and bring it to room temperature before using/filling. Do not fill the dough in advance, as it may become too soft and unmanageable.
Where can I buy pigeon peas?
You can find green pigeon peas (also called gandules) in the freezer section of most Caribbean, Latin, or Asian supermarkets. They’re often labeled as frozen green pigeon peas or frozen gandules. You may also find canned or dried versions, but for this recipe, frozen peas work best for both texture and flavor. Some online retailers and specialty grocery stores carry them as well.
Can I use sweet peas instead of pigeon peas?
Yes, sweet peas can be used as a substitute if you can’t find pigeon peas. Since sweet peas are softer and more delicate, they don’t require as much cooking time. A quick blanch in boiling water for 1–2 minutes is enough to soften them slightly. Be careful not to overcook them—you want the peas to stay firm enough to grind and stuff without becoming mushy.
Watch the Step-by-Step Video
For full confidence and technique, watch the video tutorial here:

Did You Love This Recipe – Leave a Rating and Comment
I’d love to hear how your Pigeon Peas Puri turned out! Leave a 5-star rating in the recipe card above and a comment below. Your feedback means the world to me and helps others discover this recipe. If you try it, send a pic to [email protected] and I might feature you!
Questions or Concerns—Write Me!
If you have any questions, concerns, issues, or suggestions about this recipe or any other recipes, please don’t hesitate to leave a comment below or reach out via email at [email protected]. I’d love to hear from you and am here to help make your cooking experience as enjoyable and successful as possible. Happy cooking!
You Will Also Love These Recipes
Curry Chicken with Eggplant and Chickpeas
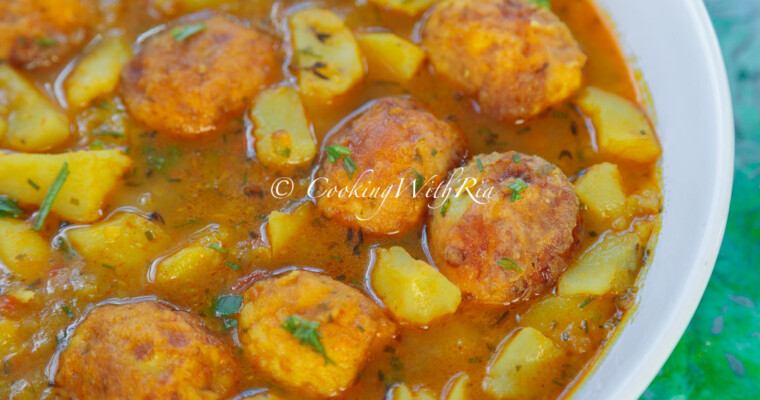
Stewed Chicken with Pigeon Peas

Peas Puri
Ingredients
To Boil Peas
- 1 lb Green Pigeon Peas
- 10 cups water
- 1 tbs salt
To Season Peas
- 6-8 cloves garlic
- Hot Pepper
- 6-8 culantro leaves or handful of cilantro
- 2 tbs ground cumin
To Knead Flour
- 4 cups all purpose flour
- 2 teaspoons baking powder
- 2 tsp brown sugar optional
- 1 tsp salt
- 1 ¾ cups lukewarm water
- Pinch instant Yeast optional
- 1/2 cup cup vegetable oil, for cooking roti
Instructions
Prepare Peas: (Can be made ahead, refrigerated for a few days or frozen until ready to use)
- Pick through peas and remove any that are bad and wash with several changes of water. Drain.
- In a medium pot over high heat, bring water to a boil and add peas. When it comes to a rolling boil, lower heat to medium and cook for 15 minutes or until peas are cooked and firm (not soft) and crushes easily between thumb and forefinger. Drain and allow it to cool completely and air dry.
- In a food processor, add garlic, hot peppers and bandhania (culantro) leaves. Process until fine. Add 1/3 pigeon peas and process until very fine. Remove to a bowl and repeat two more times. Mix well.
- Form into equal 6 or 8 sized balls, depending on the amount of roti you are making.
Knead Flour
- In a large bowl, add flour, baking powder, salt, sugar and yeast if using. Mix and gradually add water until there is no more dried flour. Knead to make a soft dough. Let dough rest for 30 minutes.
- Separate dough into 3 balls, then separate each into two equal pieces (or 4 and 8 for smaller roti). Form into smaller balls (making 6 balls) and let it rest for 10-15 minutes.
Fill dough
- Flatten dough into a disk, place ¼ cup of peas or peas ball, if you followed that step, onto the dough and stretch the edges over and around the peas, to meet at the top, then press together, rotating and pinching to properly seal. Place on a tray, repeat and keep covered while you move on to the next step.
Cook roti
- When ready to cook(do not allow the dough to rest too long as it will get too soft and unmanageable), heat tawa over high heat until smoking. Lower heat and brush with oil.
- Sprinkle flour on counter and place filled dough. Press gently to make a round disc.
- Roll out dough to an 8-inch circle or wide enough to fit into your pan or tawa, making sure that the surface is even and edges are thin.
- Pick it up gently resting it on the palm of your hand and fore arm and place on the hot tawa. When tiny bubbles appear on the surface brush with oil and flip. Brush the other side with oil and flip. When the roti swells, is lightly brown on both sides and the edges are fully cooked, it is ready. Remove carefully from tawa and place in a large tray, lined with a kitchen or paper towel.
- Repeat steps 8-11 until all the roti are cooked.